A practice recording becomes useful when you know what you want to hear in it. Before pressing record, choose a short passage and one question about the musical result.
Does the last note continue the phrase? Can you hear the intended contrast in articulation? Does the resonance last as long as you imagined?
The aim is to connect an intention, an audible observation and a next decision. You can begin with the recording equipment you already have.
Choose the question before the take
“Was that good?” leaves you with too many things to judge at once. A narrower question gives your listening a direction.
For example:
- Does the second phrase begin with a different character from the first?
- Can I hear a steady pulse through the rests?
- Does the roll continue through the change of dynamic?
- Does the final resonance end where the phrase needs it to end?
Write down the intention before playing. Choose something that the recording can help you assess. A close microphone may help reveal detail in the attack, but it cannot reproduce the balance experienced from every seat in a concert hall.
Keep the recording setup consistent
Choose a safe, stable position for the device, away from your playing movements. Record a short test and listen to it before making the comparison.
Check whether the attack distorts, whether the passage is audible and whether background noise hides the feature you want to hear. If your device offers an input-level control, leave enough room for the loudest sounds. Some phones and apps adjust level automatically, which can make dynamic comparisons less reliable.
When comparing takes, keep the microphone position, orientation and available settings the same. Avoid adding processing between trials. A change in recording conditions can otherwise be mistaken for a change in your playing.
You do not need to solve every recording problem at once. You do need to know which questions the setup can reasonably answer.
Record a passage with a beginning and an end
Choose enough music to hear the feature in context. Include the preparation if it affects the entrance, and leave time after the final note for the resonance to finish.
Play the passage through for the diagnostic take. If you stop immediately after a small error, you may lose the phrase you wanted to evaluate. Afterwards, you can choose a smaller section for focused work.
Keep the take short enough to review attentively. There is no required number of seconds or repetitions; the musical question determines the useful length.
Listen once for the phrase, then for the chosen detail
On the first playback, notice the overall direction. Does the passage communicate the character you intended?
Then return to the specific question. Describe something audible rather than grading yourself. “The final note is shorter than the preceding notes” is more useful than “The ending is bad.” You can test the first statement against the recording and decide whether it matters musically.
Gerald Klickstein’s guidance on self-evaluation recommends targeted listening when reviewing recordings. Separating the listening tasks can make your observations easier to use.
A study by Silveira and Gavin found differences in some self-assessment ratings when 112 middle-school instrumentalists evaluated live and recorded performances. That result concerns those students and conditions; it does not establish that playback always makes a musician’s judgement more accurate.
The practical question remains: what can you identify in this take, and how will you test that observation?
Use three short notes
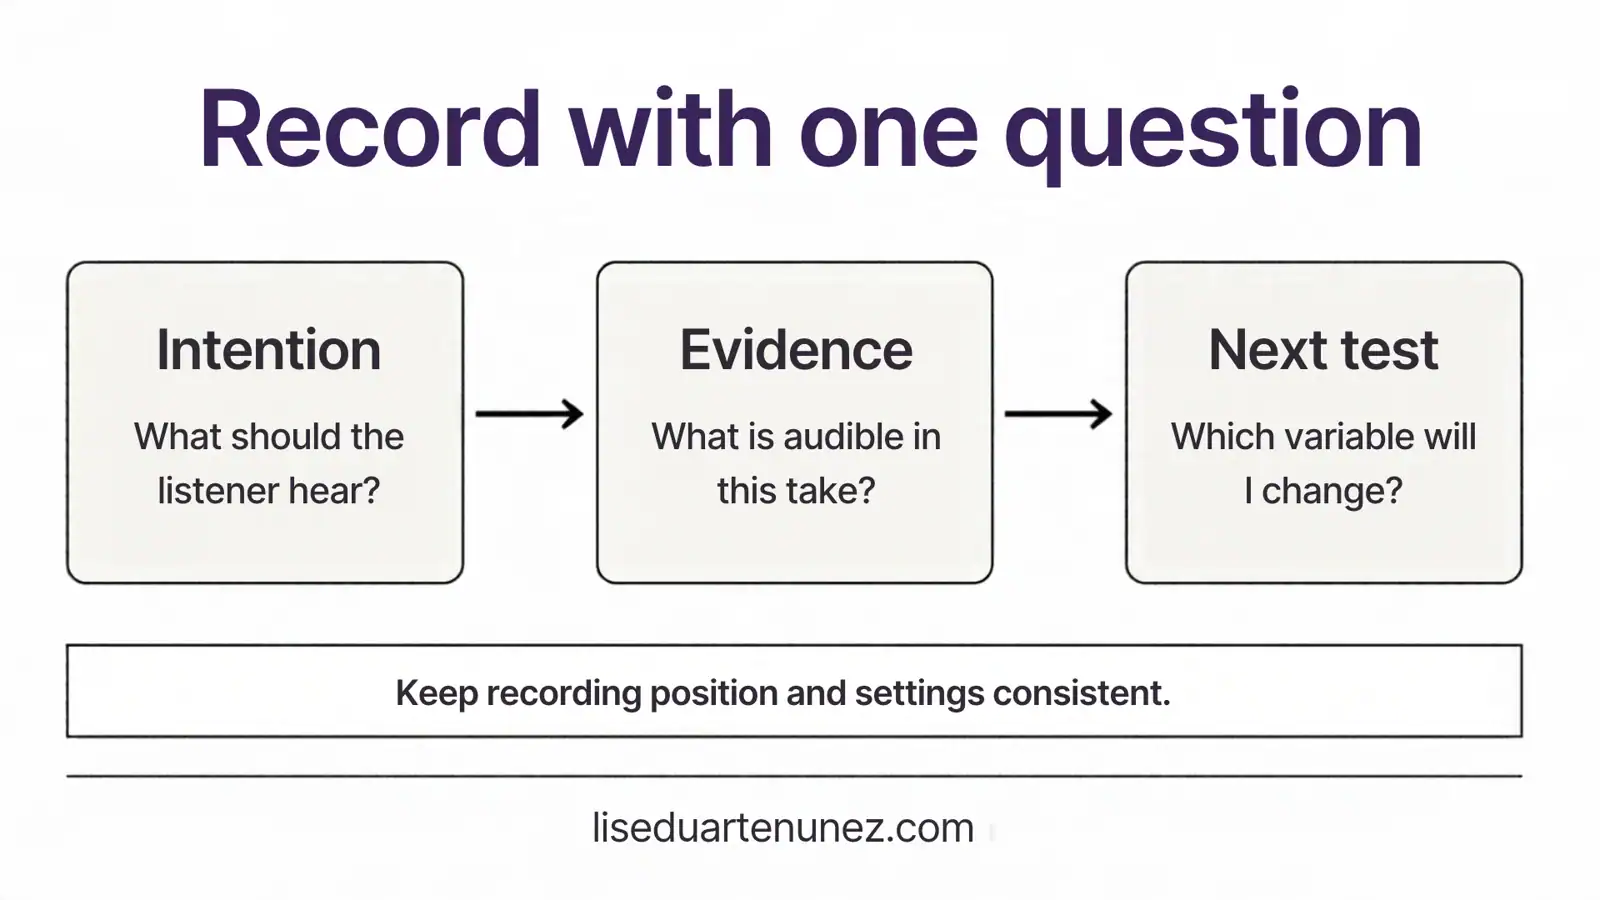
| Intention | Evidence from this take | Next test |
|---|---|---|
| What should the listener hear? | What is audible, and where in the passage? | Which variable will I change? |
Imagine an invented practice example in which you want a phrase to continue through its final note. On playback, you hear that note become unexpectedly short. Your next test might be to sustain the intended sound image through the end, then record again with the same equipment and setup.
That is a hypothesis. The recording has not proved why the note was short. If the next trial does not change the result, investigate another possible cause with your teacher rather than repeating the same instruction indefinitely.
Keeping observation separate from explanation leaves room to learn something new.
Compare the result of one adjustment
Listen to the relevant part of the first and second takes at similar playback levels. Ask whether the chosen feature changed in the intended direction, then listen to the whole phrase again.
An adjustment can improve one detail while making another less convincing. More distinction in an attack may interrupt the line. A longer resonance may obscure the following event. The musical context decides whether the change is useful.
If comparing equipment, note the other variables that changed. The listening test in Drumstick Tip Shapes applies the same principle to complete sticks and their contact with the instrument.
Know when to seek another pair of ears
Playback can reveal details you missed while playing. It can also leave a question unresolved. You may need a listener farther from the instrument, the conductor’s direction or feedback from your teacher.
If you hear a difference but cannot describe it, bring the two short takes and your question to the lesson. That gives the discussion a concrete starting point. Share only recordings you have permission to share, especially when other performers are involved.
End with a decision for the next session
Keep the observation that matters and the next test you intend to make. You can retain a small number of useful takes instead of accumulating recordings you will never review.
This process connects with the evaluation and adjustment sections of MTDM. The recording contributes evidence; you remain responsible for interpreting it in relation to the music.
For individual feedback on that connection between intention and result, explore working with Lise.